
A lot of woodworking and building project require one to make angled cuts. To make precise angled cuts, a miter saw can help you out. One of the most common angled cuts is a 45-degree cut. Today, I will show you how to make a perfect 45-degree cut using a miter saw. Whether you intend to make this angled cut to make furniture or reclaim wood, here is a precise way to do this.
Source: Lance Fisher under CC 2.0
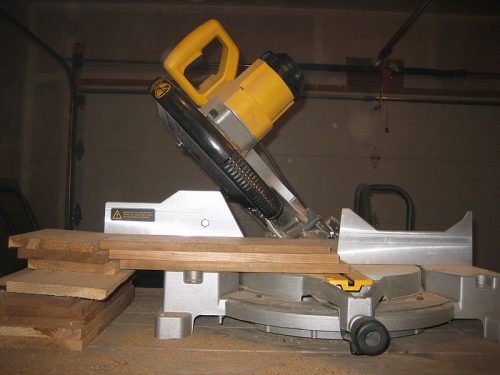
Miter Saw At 45-Degrees
• Make preparation
This may seem basic, but before you use a miter saw, you want to ensure everything is right from the start. Therefore, before you begin sawing, make sure you have enough space for work. Making angled-cuts will call for more precision than regular sawing and therefore, your workspace needs to have enough room and light.
• Gather scrap woods
Before working on the real board or timber, practice using some scrap woods. You are not going to master the angles on your first trials. Therefore, be sure to have scrap woods to practice with before working on the wood for your project.
• Prepare your saw
If the saw is new or has not been cleaned and calibrated, make sure to clean it. Proper saw preparation will help make accurate cuts. To prepare it you need to;
- Clean it to ensure it is free of debris and sawdust that can cause misalignment
- Check the blade to ensure they are safe. Ensure they do not have any stuck-on debris
- Check the table for any misalignment as this might cause it to throw off the cuts
- Check the fence for any misalignment too. It should be square
- Check the angle. Set the blade at 0 degrees to make sure your 0-degree saw angle is right-angled with your fence. Place a square on the table, with one edge against the fence. Lower your saw and slide the square to the saw blade’s edge- your square should now be resting against the blade on one side and fence on the other. Ensure there are no gaps- if any adjust the miter to ensure the fence and blade are square with each other. Refer to your instruction manual to find out how you can do this perfectly.
- Adjust the saw. Most miter saws are adjusted using a lever and knob. This swivels the saw into a position needed for the angle you want to make. Obviously, in this case, the saw blade needs to be at a 45-degree angle.
• Position the wood
Your wood should rest against the fence. Mark the spot where the blade should cut through. Make sure to follow the old woodworking saying “measure twice, cut once.”
When marking for cuts, outspread the mark across the wood. Lower the blade until it touches wood and check if it is in alignment with the mark. Adjust the board if there is misalignment until the blade lines up.
Note; make sure to take all the safety measures. Remember that most miter saw accidents result from sloppiness. Therefore, have your safety goggles and ear protection on. Also, have your dust mask and gloves on if you are working with treated lumber.
• Turn on the saw
Make sure to allow it to get to full speed before making any cutting.
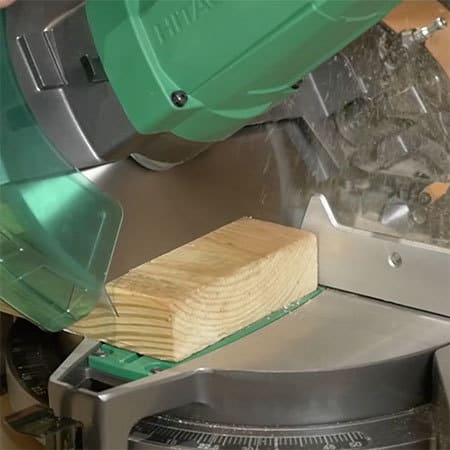
• Make the cut
While securing the wood with one hand, use the other hand to make the cut slowly. Don’t push down on your saw, let the saw drive itself- yours is to guide it.
To be sure you have perfected making a 45-degree cut, repeat these steps and make another cut on a piece of scrap wood. Check out if the edges are perfect and similar. If they match, you are up to the task. You can now cut your project wood.
Wrap Up
Bravo! You’ve done it! You now know how to make a precise 45-degrees cut with a miter saw. You can make cuts at other angles by adjusting the position of your blade on your saw. Remember that, as with any other procedure, practice makes perfect. The more angled cuts you make with a miter saw the more accurate and even your results will be. So, keep practicing until you perfect it!


